Showing posts with label cooking. Show all posts

Friday, April 6, 2012

Easy to make marshmallow eggs

How to make super easy marshmallow eggs


These marshmallow eggs have been a tradition to make for several years.  The best part is they are super simple to make and only takes 1/2 hour to make.  You can also dip them in chocolate to have chocolate marshmallow eggs.  

Ingredients:
2 packets of Knox Unflavored Gelletin
6 Tbsp Cold Water
1/2 cup water
1 1/2 cup sugar
Food coloring (optional)
1 tsp flavoring (optional) 
Flour

Step 1:
First you'll take (2) 9x13 pans and fill with flour.  Enough that a plastic egg can make a imprint half it's height.   Take your plastic egg and press into the flour, making a imprint for the marshmallow mixture to form in.  Place the pans aside ready to pour into.
 

 Step 2:
In a small bowl mix 2 packets of Know gelatin and 6 Tbsp cold water.  Set aside.
 Step 3:
Mix 1/2 cup water and 1 1/2 cup sugar.  Bring to a boil to make a syrup mixture and remove from heat.  Mix syrup mix and gelatin.  Mix well.  Add food coloring and 1 tsp flavoring. (we used orange)
 Step 4:
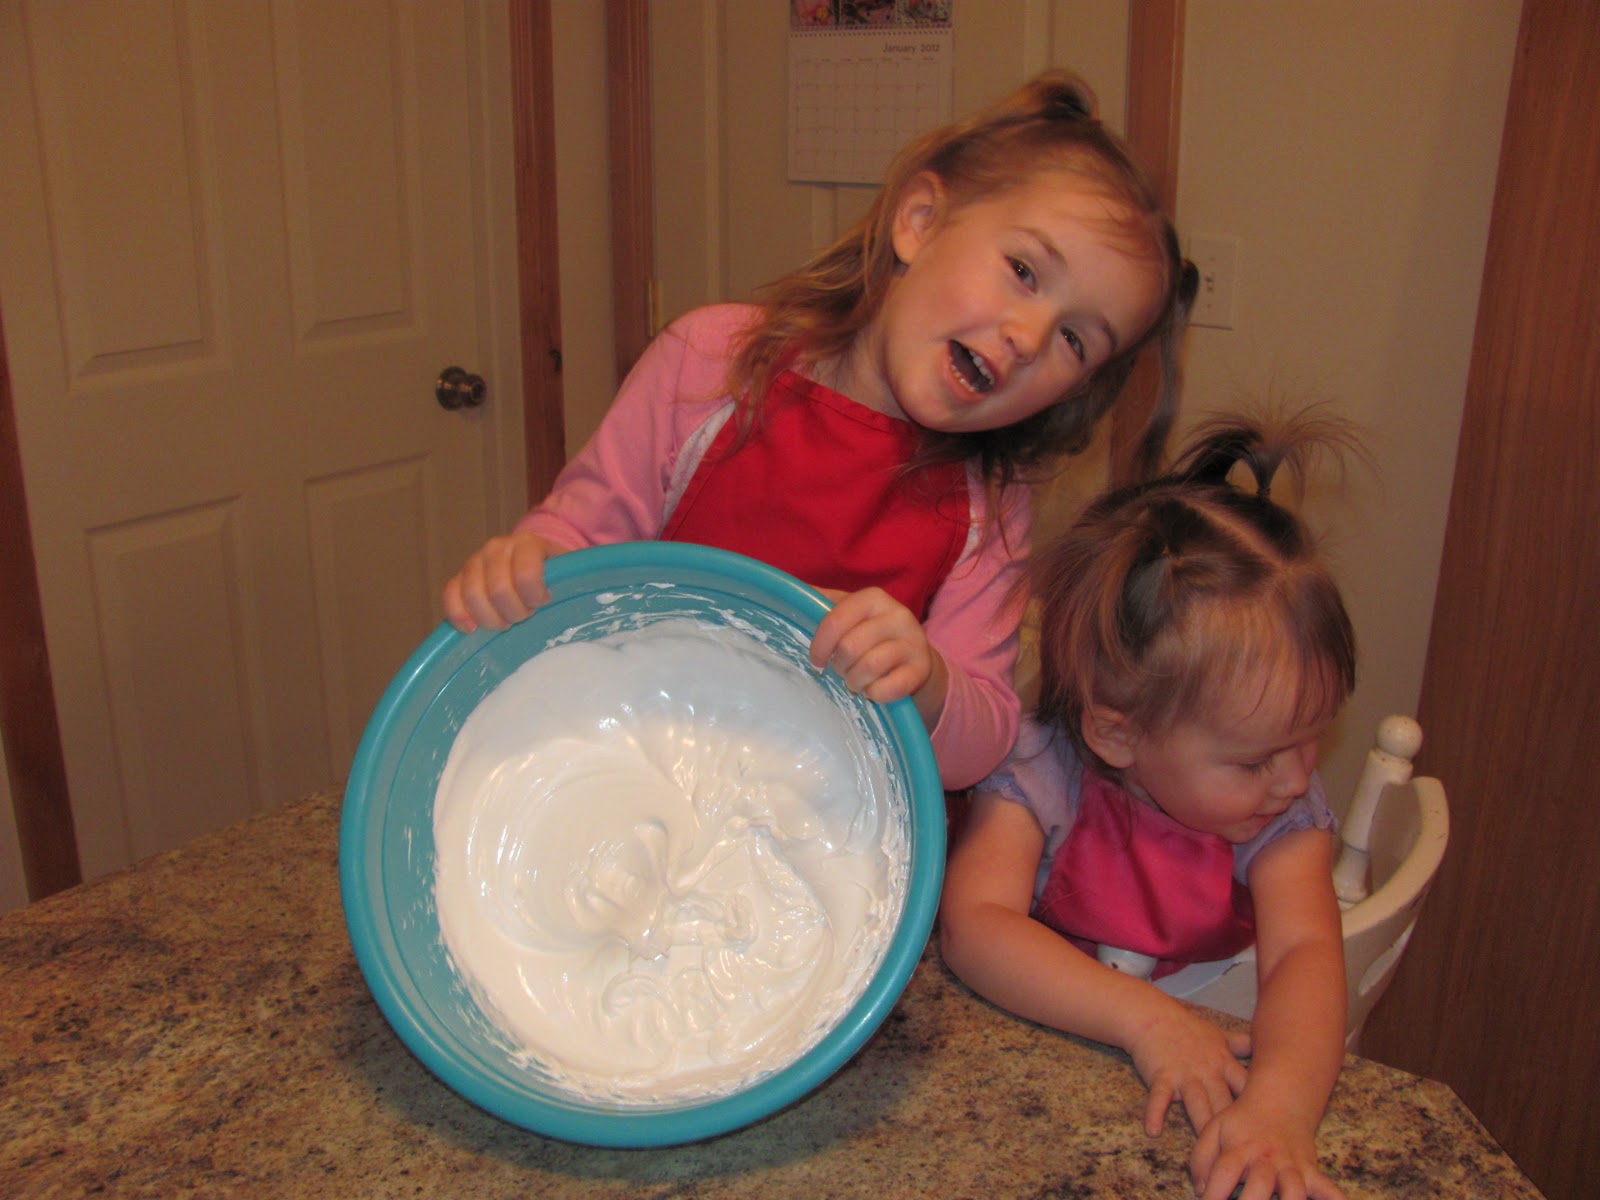
Using a mixer, beat the mixture for 10-15 minutes till is fluffy and lightens in color.  (The picture above is what the finished product looks like before you pour into molds. )

Step 5:
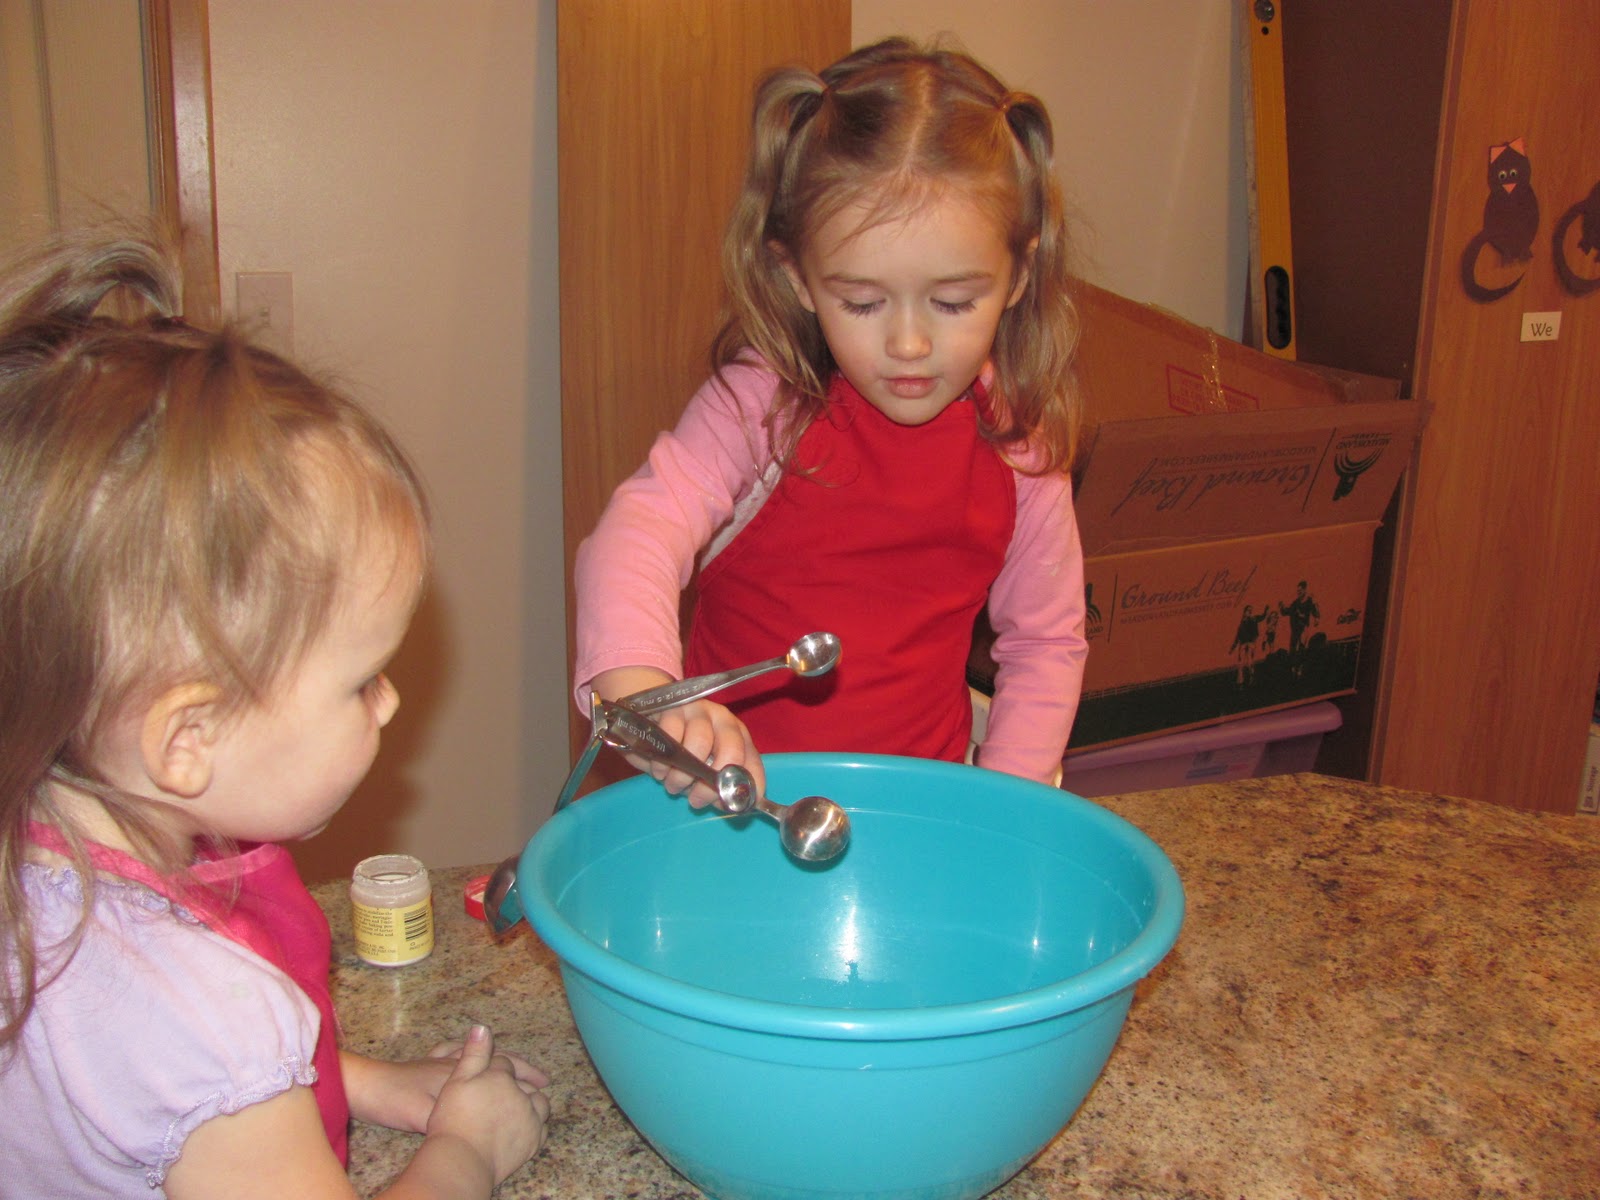
Use a 1/4 cup measuring cup to pour into flour mold. 


 Step 6:
Sprinkle some flour over the top of the marshmallows to prevent them from being sticky.  Let cool 1 hour.  Once they have cooled dip them out of the flour and brush off the flour.  


They are yummy to eat just like this, but you may also dip them in dipping chocolate for a fancier treat.  This recipe makes 36 eggs.

Tuesday, February 14, 2012

I love you meringues


 Valentine’s Day is a wonderful time to remind those around you that you love them.   One activity I enjoy doing with my girls is cooking.  For this Valentines holiday I invited my girls to help me make meringue letters for my them to give to their Daddy.  Not only are these nice to look at, but they are also very yummy to eat.  This recipe came from a recipe book Costco gave out. 


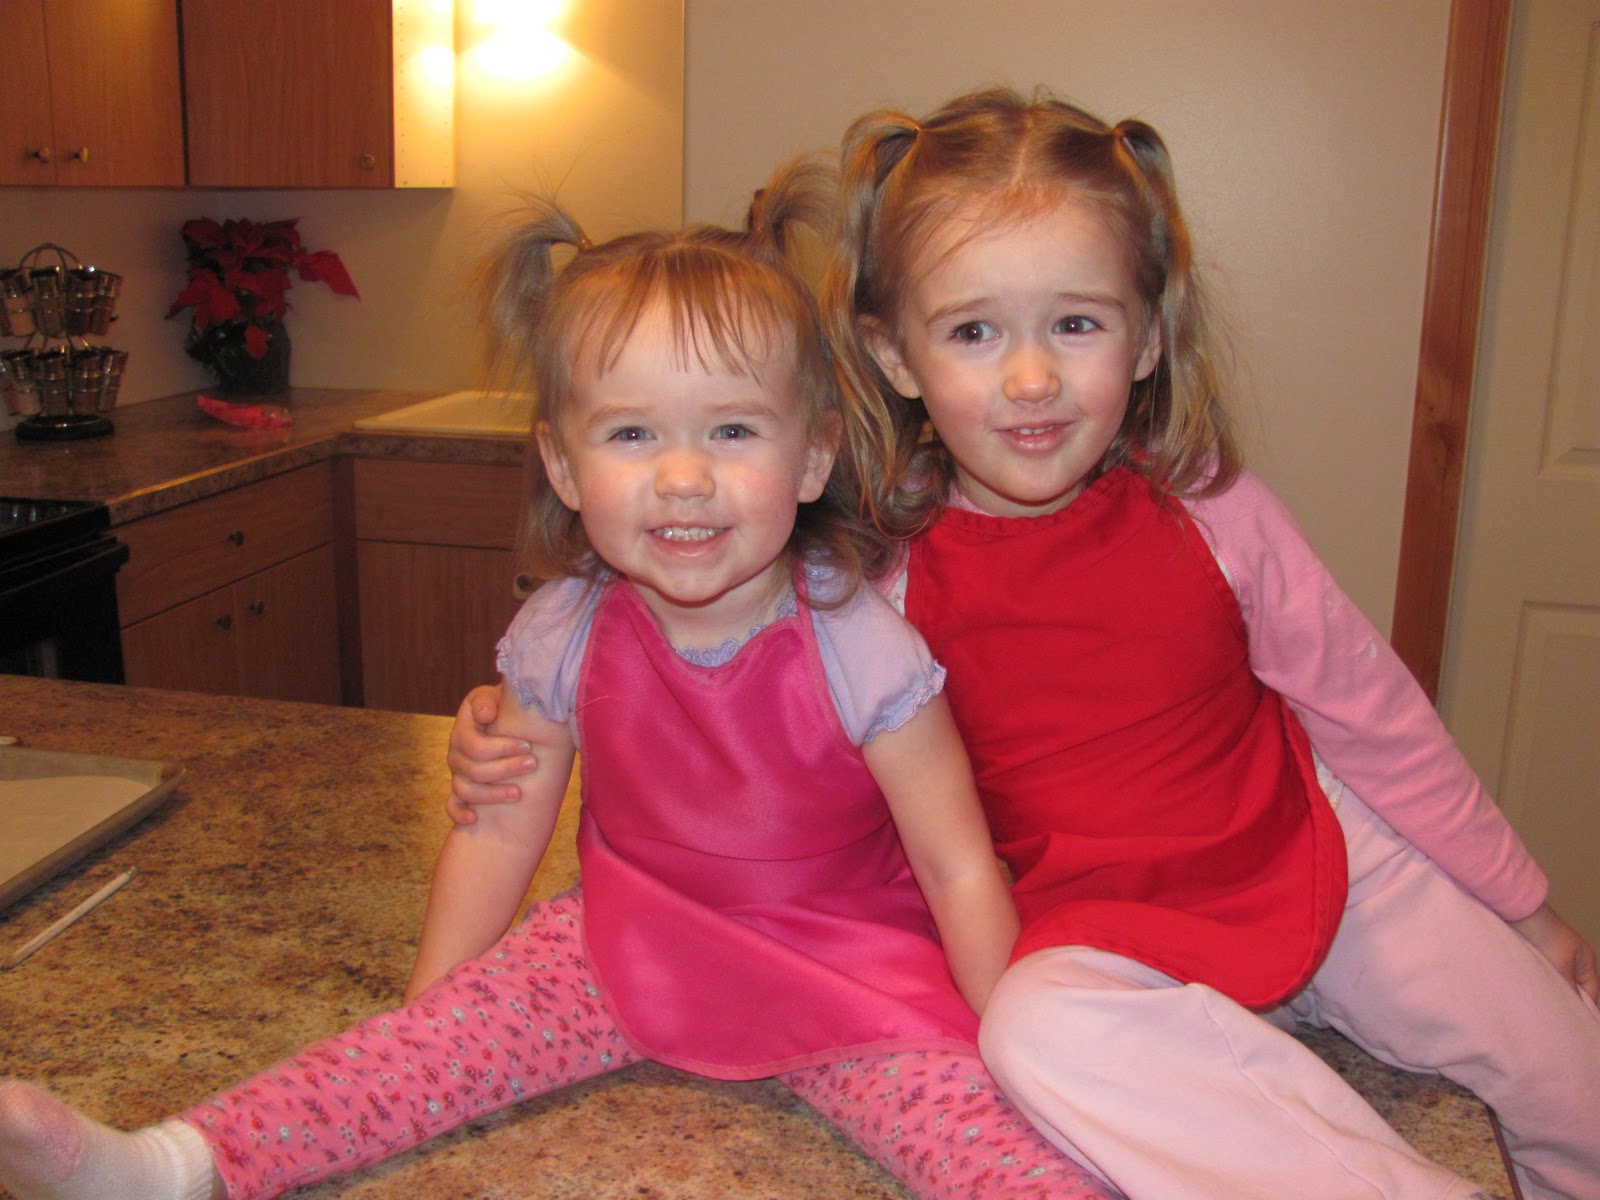
To get started you need a couple of cute helpers & these items:

Parchment paper
6 Large egg whites
Pinch of salt
1 ½ teaspoons cream of tarter
½ teaspoon almond extract
1 ½ cups sugar
Pastry bag with a large flower tip
4-6 ounces jelly beans

 
Preheat oven to 170 degrees.  Line baking sheet with parchment paper and set aside.


In a clean, dry mixing bowl, beat egg whites, salt and cream of tartar with an electric beater until soft peaks form.  With the beater running, add almond extract and then gradually add sugar.  Beat until stiff and glossy.

 Notice how shiny it got.


 Spoon Meringue into the pastry bag.  Pipe meringue onto the parchment-lined baking sheet in the letters you want.  


Select jelly beans you want to use and gently press the jelly beans into the sides of the meringues. 

 
Bake for 2 ½ hours, or until hard. The meringues can be made up to 2 days ahead and stored in an airtight container.  Makes 10-12 (4” letters).   

 
They turned out very cute and the girls loved help make them.  Their favorite part of course was testing the jelly beans out to make sure they were yummy enough to put on the letters.  

 My official taste-tester approved. 

Wednesday, February 8, 2012

Cooking time: Peanut butter cookies

 Cooking with kids:
Peanut butter and chocolate cookies


My big helper unwrapping all those Hershey kisses.

 We have a valentines cookie exchange tonight so we made 
peanut butter cookies from a recipe I found at
We just added a Hershey kiss to make them cute. 
 
 What's a cooking experience without official taste testers
 
Finished product. Mmm and they were so yummy. Of course we snuck one!

Friday, November 25, 2011

Musical Squares


Fun with Squares

 Our ideas came from preschool palace.
Today we make brownies and are planning on cutting them into squares.  We cheated and used a Betty Crocker mix.  Sorry no yummy recipe this time. 

Fluttershy's picture is on the right and Rarity is on the left.  Surprisingly they don't look much different.  I was sure you'd see a difference between two years.  These are our square mosaic pictures.  When Fluttershy gets older I'm going to make a picture suggestion (like a house) and see what she comes up with.  Rarity was thrilled to stick all these sticky squares onto her paper.  

Musical Squares
We tweaked this came a bit for a smaller crowd.  It plays like musical chairs only we use colored squares.  We used our foam letter squares.  Instead of removing a square every time the music stopped I had them freeze.  It was a more of a get them up and move game.  Hopping around the circle like little bunnies.